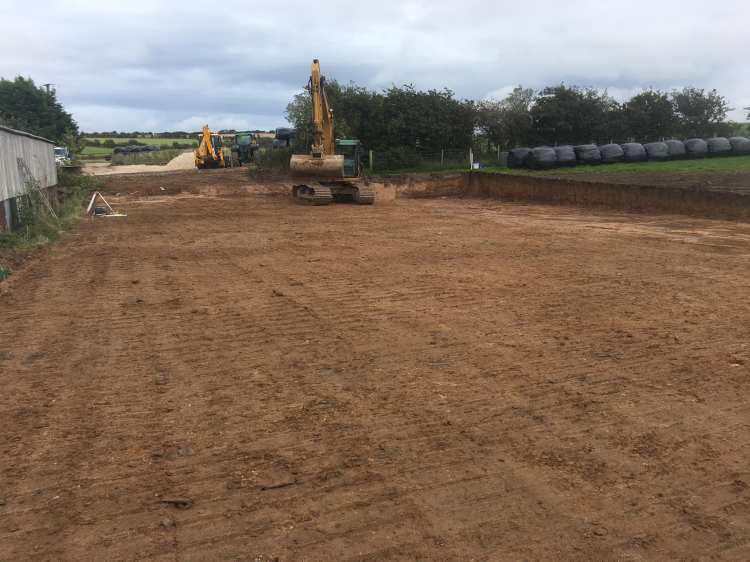

After mobilising to site we had to mark out the location of all the foundations which proved a little tricky, as the building went up to cover different levels and a slurry store. Once that was done, we cut and broke out the existing concrete to be able to excavate the holes for the foundations ready for concrete and bolt boxes to fix the building down.
Next was to sort out the delivered kit form and identify which legs went on which foundation, as they were all different in length, and consequently fit them. After the legs were fixed in place it was the time to fit the eaves ties; which are usually a tube section tying each leg to leg down the length of the building at the top of the leg (the eaves).
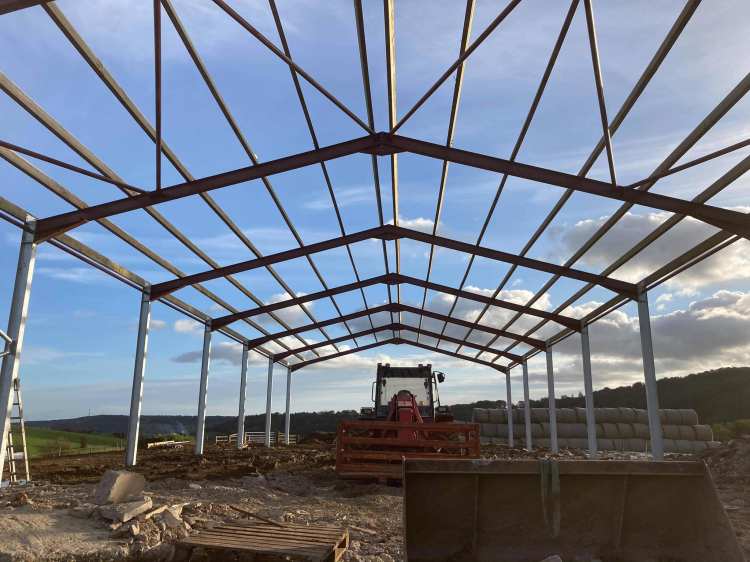
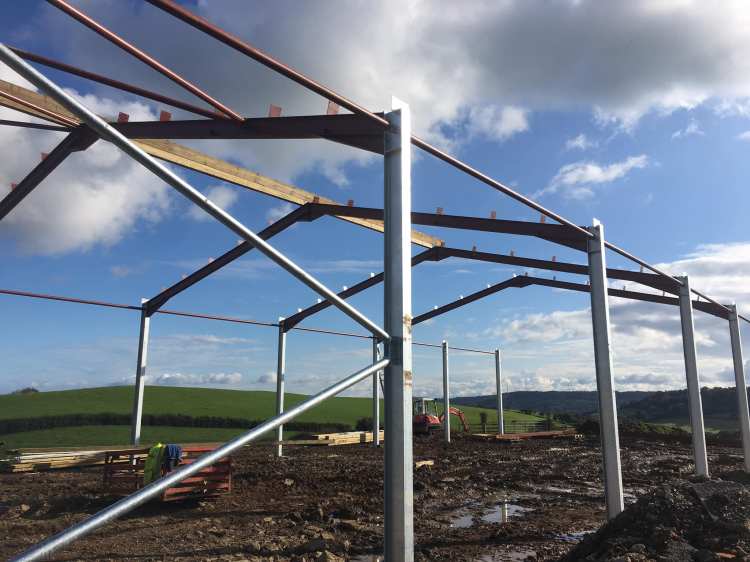
Following this, we needed to fit the wind braces; tube sections between the first and second legs in a diagonal shape. Once completed every thing was locked up solid and plumb-ready for the trusses to be bolted together, lifted into place, and fixed to the top of the legs across the width of the building. There were more wind braces to fit between trusses 1 and 2 to lock it all square, boosting stability when winds are blowing!
Now the structure is visually in place, and on go the purlins, which in this case were timber. Care is to be taken to identify any bowed timbers and fit them accordingly. Then we needed to add quite a lot of small angled braces to fit between the trusses and the purlins.
Now for the roof! We started with the valley gutter up the middle then fitted the roof sheets and sky lights. These are stacked in the correct order but placed backwards on the ground for each bay so that when each sheet and sky light is lifted off the stack, it is the correct sheet in the right rotation to be fitted directly where it needs to be. The reason behind this is that each bay is usually covered with a variety of different sized sheets to suit the placement of the sky lights.
This building wasn’t to be clad completely – only the ends of the building at the top, covering the first and last truss, plus a barge board, in order to keep the wind from lifting the end roof sheets.
Gutters now needed to be fitted, with down pipes connecting into underground drainage, taking top water to a suitable drain/soakaway or holding tank. It is important that the top water (rain) is dealt with in the correct manner, as heavy rain from a large building can cover a large area, and it needs to be kept separate from slurry.
The team enjoyed this one as it was a build more challenging, covering existing farm infrastructure on different ground levels with both a tight location to work and a very tight deadline to meet. The team worked hard and got the job done well!
Duration
Two Weeks
Service
Steelworks & Drainage
Completed Date
April 2022